# Xiaozhi ESP-32 Back-end Service (xiaozhi-esp32-server)
([中文](README.md) | English)
This project provides backend services for the open-source smart hardware
project [xiaozhi-esp32](https://github.com/78/xiaozhi-esp32)。Implemented in Python following
the[Xiaozhi Communication Protocol](https://ccnphfhqs21z.feishu.cn/wiki/M0XiwldO9iJwHikpXD5cEx71nKh)。
## Target Audience
This project requires compatible esp32 hardware devices. If you have purchased esp32 hardware, successfully connected to
Xiage's deployed backend, and wish to independently set up the `xiaozhi-esp32` backend service, this project is for
you.
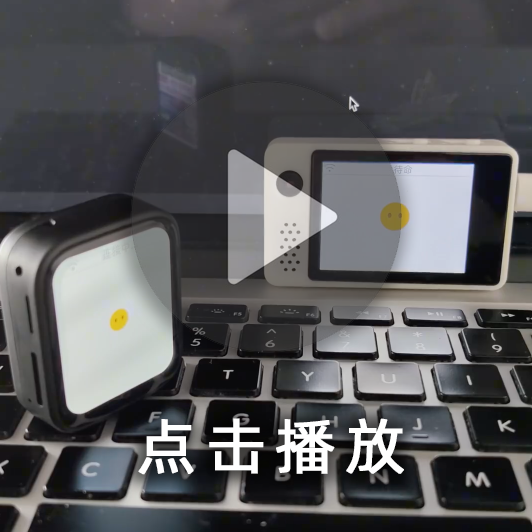
To see a demo, watch this video:
To fully experience this project, follow these steps:
- Prepare hardware compatible with the `xiaozhi-esp32` project. For supported
models, [click here](https://rcnv1t9vps13.feishu.cn/wiki/DdgIw4BUgivWDPkhMj1cGIYCnRf).
- Use a computer/server with at least 4-core CPU and 8GB RAM to run this project. After deployment, you'll see the
service endpoint address in the console.
- Download the `xiaozhi-esp32` project, replace the default `endpoint address` with your own, compile, and flash the
firmware to your device.
- Start the device and check your server console logs to verify successful connection.
## Warning
This project has been established for a short time and has not passed the network security assessment, so please do not
use it in the production environment.
## Feature List
## Implemented
- `xiaozhi-esp32` WebSocket communication protocol
- Supports wake-word initiated dialogue, manual dialogue, and real-time interruption of dialogue.
- Support for 5 languages: Mandarin, Cantonese, English, Japanese, Korean (FunASR - default)
- Flexible LLM switching (ChatGLM - default, Aliyun, Dify, DeepSeek)
- Flexible TTS switching (EdgeTTS - default, ByteDance Doubao TTS)
## In Progress
- Sleep mode after inactivity
- Dialogue memory
- Change the mood mode
## Supported Services
| Type | Service | Usage | Pricing Model | Notes |
|:-----|:-----------|:--------:|:---------------|:---------------------------------------------------------------------------|
| LLM | Aliyun | API call | Token-based | [Apply for API Key](https://bailian.console.aliyun.com/?apiKey=1#/api-key) |
| LLM | DeepSeek | API call | Token-based | [Apply for API Key](https://platform.deepseek.com/) |
| LLM | Dify | API call | Token-based | Self-hosted |
| LLM | Bigmodel | API call | Free | [Create API Key](https://bigmodel.cn/usercenter/proj-mgmt/apikeys) |
| TTS | HuoshanTTS | API call | Token-based | [Create API Key](https://console.volcengine.com/speech/service/8) |
| TTS | EdgeTTS | API call | Free | |
| VAD | SileroVAD | Local | Free | |
| ASR | FunASR | Local | Free | |
# Deployment
This project supports rapid deployment of docker and local source code operation. If you want to have a quick
experience, it is recommended to use docker to deploy. If you want to have an in-depth understanding of this project, it
is recommended to run the local source code.
## Method 1: Quick deployment of docker
The docker image has supported the CPU of x86 architecture and arm64 architecture, and supports running on Chinese
operating systems.
1. Install docker
If your computer has not installed docker, you can follow the tutorial here to install
it:[Install docker](https://www.runoob.com/docker/ubuntu-docker-install.html)
2. Create a directory
After installation, you need to find a directory for the configuration file for this project. Let's call it the
`project directory` for the time being. This directory is preferably a newly created empty directory.
3. Download the configuration file
Open with a browser[This link](https://github.com/xinnan-tech/xiaozhi-esp32-server/blob/main/config.yaml)。
On the right side of the page, find the button named `RAW`, next to the `RAW` button, find the download icon, click the
Download button, and download the `config.yaml` file. Download the file to your `project directory`.
4. Configure Project
Modify the `config.yaml` file to configure the various parameters required for this project. The default LLM uses
`ChatGLMLLM`, you need to configure the key to start.
The default TTS uses `EdgeTTS`. This does not require configuration. If you need to replace it with`Doubao TTS`, you
need to
configure the key.
Configuration description: This is the default component of each function, such as LLM default to use the `ChatGLMLLM`
model. If you need to switch the model, it is the corresponding name.
The default configuration of this project is only the lowest operating cost configuration(`glm-4-flash`and`EdgeTTS`are
free),If you need to be better and faster, you need to combine the use of the deployment environment to switch the use
of each component。
```
selected_module:
ASR: FunASR
VAD: SileroVAD
LLM: ChatGLMLLM
TTS: EdgeTTS
```
For example, modify the components used by `llm`, depending on which` llm` supports this project, as follows, it
supports `Deepseekllm` and` Chatglmllm`. You are modified to the corresponding LLM in `selectd_module`
```
LLM:
AliLLM:
...
DeepSeekLLM:
...
ChatGLMLLM:
...
DifyLLM:
...
```
Some services, for example, if you use the TTS` of the `dify` and` bean bags, you need a key, remember to add the
configuration file!
5. Execute the docker command
Open the command line tool, `cd` enter your `project directory`, and execute the following command
```
#If you are Linux, execute
ls
#If you are Windows, execute
dir
```
If you can see the `config.yaml` file, you have indeed entered the `project directory`, and then execute the following
command:
```
docker run -d --name xiaozhi-esp32-server --restart always --security-opt seccomp:unconfined -p 8000:8000 -v $(pwd)/config.yaml:/opt/xiaozhi-es32-server/config.yaml ccr.ccs.tencentyun.com/xinnan/xiaozhi-esp32-server:latest
```
If executed for the first time, it may take several minutes, and you have to be patient to wait for it to complete the
pull. After normal pulling is completed, you can execute the following command on the command line to see if the service
is started successfully.
```
docker ps
```
If you can see `xiaozhi-server`, it means that the service starts successfully. Then you can further execute the
following command to view the service log
```
docker logs -f xiaozhi-esp32-server
```
If you can see, similar to the following logs, it is a sign that the service of this project is successfully launched.
```
2025-xx-xx xx:51:59,492 - core.server - INFO - Server is running at ws://xx.xx.xx.xxx:8000
2025-xx-xx xx:51:59,516 - websockets.server - INFO - server listening on 0.0.0.0:8000
```
Next, you can start `compiling esp32 firmware`. Please go down and turn to the relevant chapter on
`compiling esp32 firmware`. So since you are deploying with docker, you have to check the IP of your native computer by
yourself.
Normally, assuming your ip is `192.168.1.25`, then your interface address is: `ws://192.168.1.25:8000`. This information
is very useful, and it is required to `compile esp32 firmware` later.
## Method 2 : Local Source Code Deployment
### 1.Install Prerequisites
This project uses 'conda' to manage dependencies, and after installation, start executing the following commands:
```
conda remove -n xiaozhi-esp32-server --all -y
conda create -n xiaozhi-esp32-server python=3.10 -y
conda activate xiaozhi-esp32-server
```
After executing the above command, if your computer is Windows or Mac, execute the following statement:
```
conda activate xiaozhi-esp32-server
conda install conda-forge::libopus
conda install conda-forge::ffmpeg
```
If your computer is ubuntu, execute the following statement:
```
apt-get install libopus0 ffmpeg
```
### 2.Install Dependencies
```
# Clone the project
cd xiaozhi-esp32-server
conda activate xiaozhi-esp32-server
pip config set global.index-url https://mirrors.aliyun.com/pypi/simple/
pip install -r requirements.txt
```
### 3.Download ASR Model
Download [SenseVoiceSmall](https://modelscope.cn/models/iic/SenseVoiceSmall/resolve/master/model.pt) to
`model/SenseVoiceSmall`.
By default, the `SenseVoiceSmall` model is used to convert voice to text. Because the model is large, it needs to be
downloaded independently. After downloading, place the `model.pt` file in the `model/SenseVoiceSmall` directory. Choose
any of the following two download routes.
- Line 1: Download Ali Magic
Tower[SenseVoiceSmall](https://modelscope.cn/models/iic/SenseVoiceSmall/resolve/master/model.pt)
- Line 2: Baidu Netdisk download[SenseVoiceSmall](https://pan.baidu.com/share/init?surl=QlgM58FHhYv1tFnUT_A8Sg&pwd=qvna)
提取码: `qvna`
### 4.Configure Project
Modify the `config.yaml` file to configure the various parameters required for this project. The default LLM uses
`ChatGLMLLM`, you need to configure the key to start.
The default TTS uses `EdgeTTS`. This does not require configuration. If you need to replace it with`Doubao TTS`, you
need to
configure the key.
Configuration description: This is the default component of each function, such as LLM default to use the `ChatGLMLLM`
model. If you need to switch the model, it is the corresponding name.
The default configuration of this project is only the lowest operating cost configuration(`glm-4-flash`and`EdgeTTS`are
free),If you need to be better and faster, you need to combine the use of the deployment environment to switch the use
of each component。
```
selected_module:
ASR: FunASR
VAD: SileroVAD
LLM: ChatGLMLLM
TTS: EdgeTTS
```
For example, modify the components used by `llm`, depending on which` llm` supports this project, as follows, it
supports `Deepseekllm` and` Chatglmllm`. You are modified to the corresponding LLM in `selectd_module`
```
LLM:
DeepSeekLLM:
...
ChatGLMLLM:
...
DifyLLM:
...
```
Some services, for example, if you use the TTS` of the `dify` and` bean bags, you need a key, remember to add the
configuration file!
### 5.Run the Project
Run the Project
```
# Make sure to execute in the root directory of this project
conda activate xiaozhi-esp32-server
python app.py
```
You'll see the WebSocket endpoint in logs:
```
2025-xx-xx xx:51:59,492 - core.server - INFO - Server is running at ws://192.168.1.25:8000
2025-xx-xx xx:51:59,516 - websockets.server - INFO - server listening on 0.0.0.0:8000
```
Among them, the `ws://192.168.1.25:8000` is the interface address provided by this project. Of course, your own machine
is different from mine. Remember to find your own address.
# Compile ESP32 Firmware
1. Download `xiaozhi-esp32` project, configure the project environment according to this
tutorial [" Windows builds ESP IDF 5.3.2 Development Environment and Compiles Xiaozhi "](https://icnynnzcwou8.feishu.cn/wiki/JEYDwTTALi5s2zkGlFGcDiRknXf)
Cure
2. Open the `xiaozhi-esp32/main/kconfig.projbuild` file, find the content of the` websocket_url` `default`, change the
` wss: // api.tenclass.net` to your own address, such as
Before modification:
```
config WEBSOCKET_URL
depends on CONNECTION_TYPE_WEBSOCKET
string "Websocket URL"
default "wss://api.tenclass.net/xiaozhi/v1/"
help
Communication with the server through websocket after wake up.
```
After modification (example):
```
config WEBSOCKET_URL
depends on CONNECTION_TYPE_WEBSOCKET
string "Websocket URL"
default "ws://192.168.1.25:8000/xiaozhi/v1/"
help
Communication with the server through websocket after wake up.
```
3. Configure build settings:
```
# The terminal command line enters the root directory of xiaozhi-esp32
cd xiaozhi-esp32
# For example, the board I use is ESP32S3, so the compile target is ESP32S3. If your board is other models, please replace it with the corresponding model
idf.py set-target esp32s3
# Enter the menu configuration
idf.py menuconfig
```
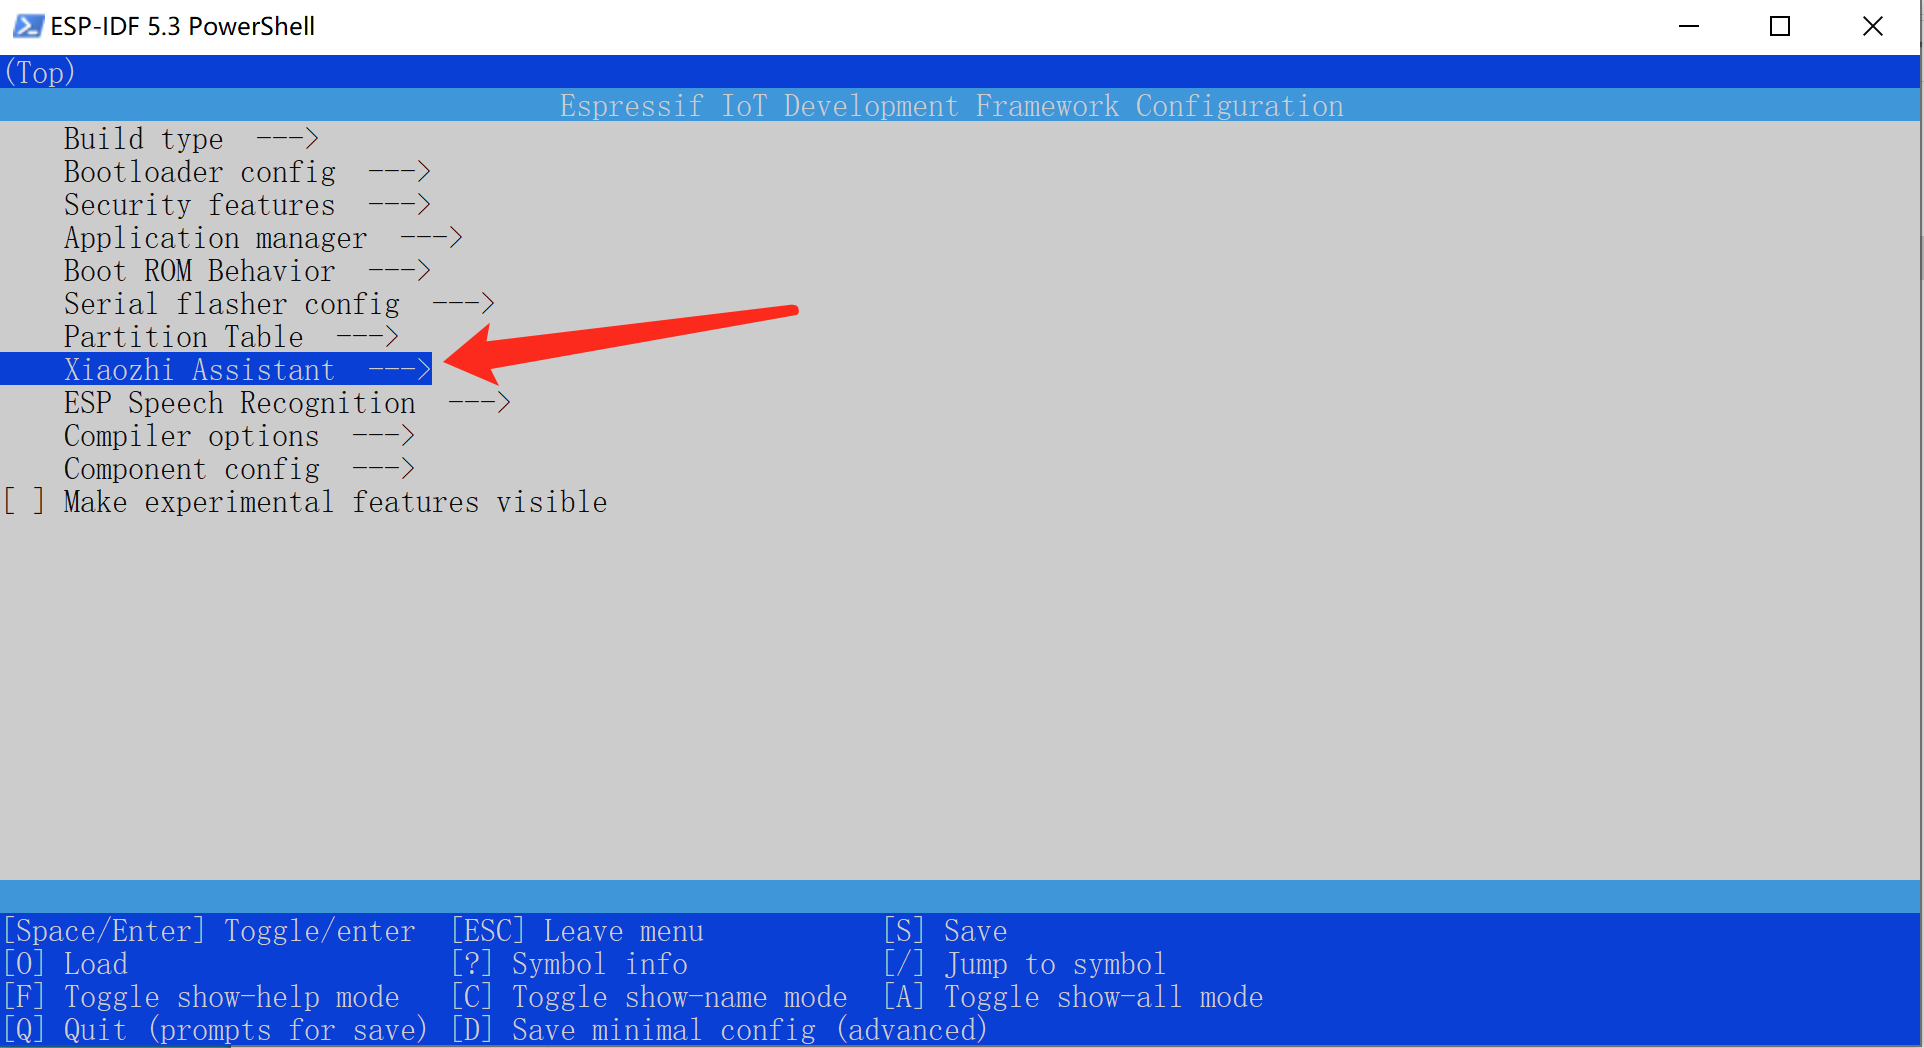
After entering the menu configuration, then enter `xiaozhi assistant`, set the` connection_type` to `websocket`
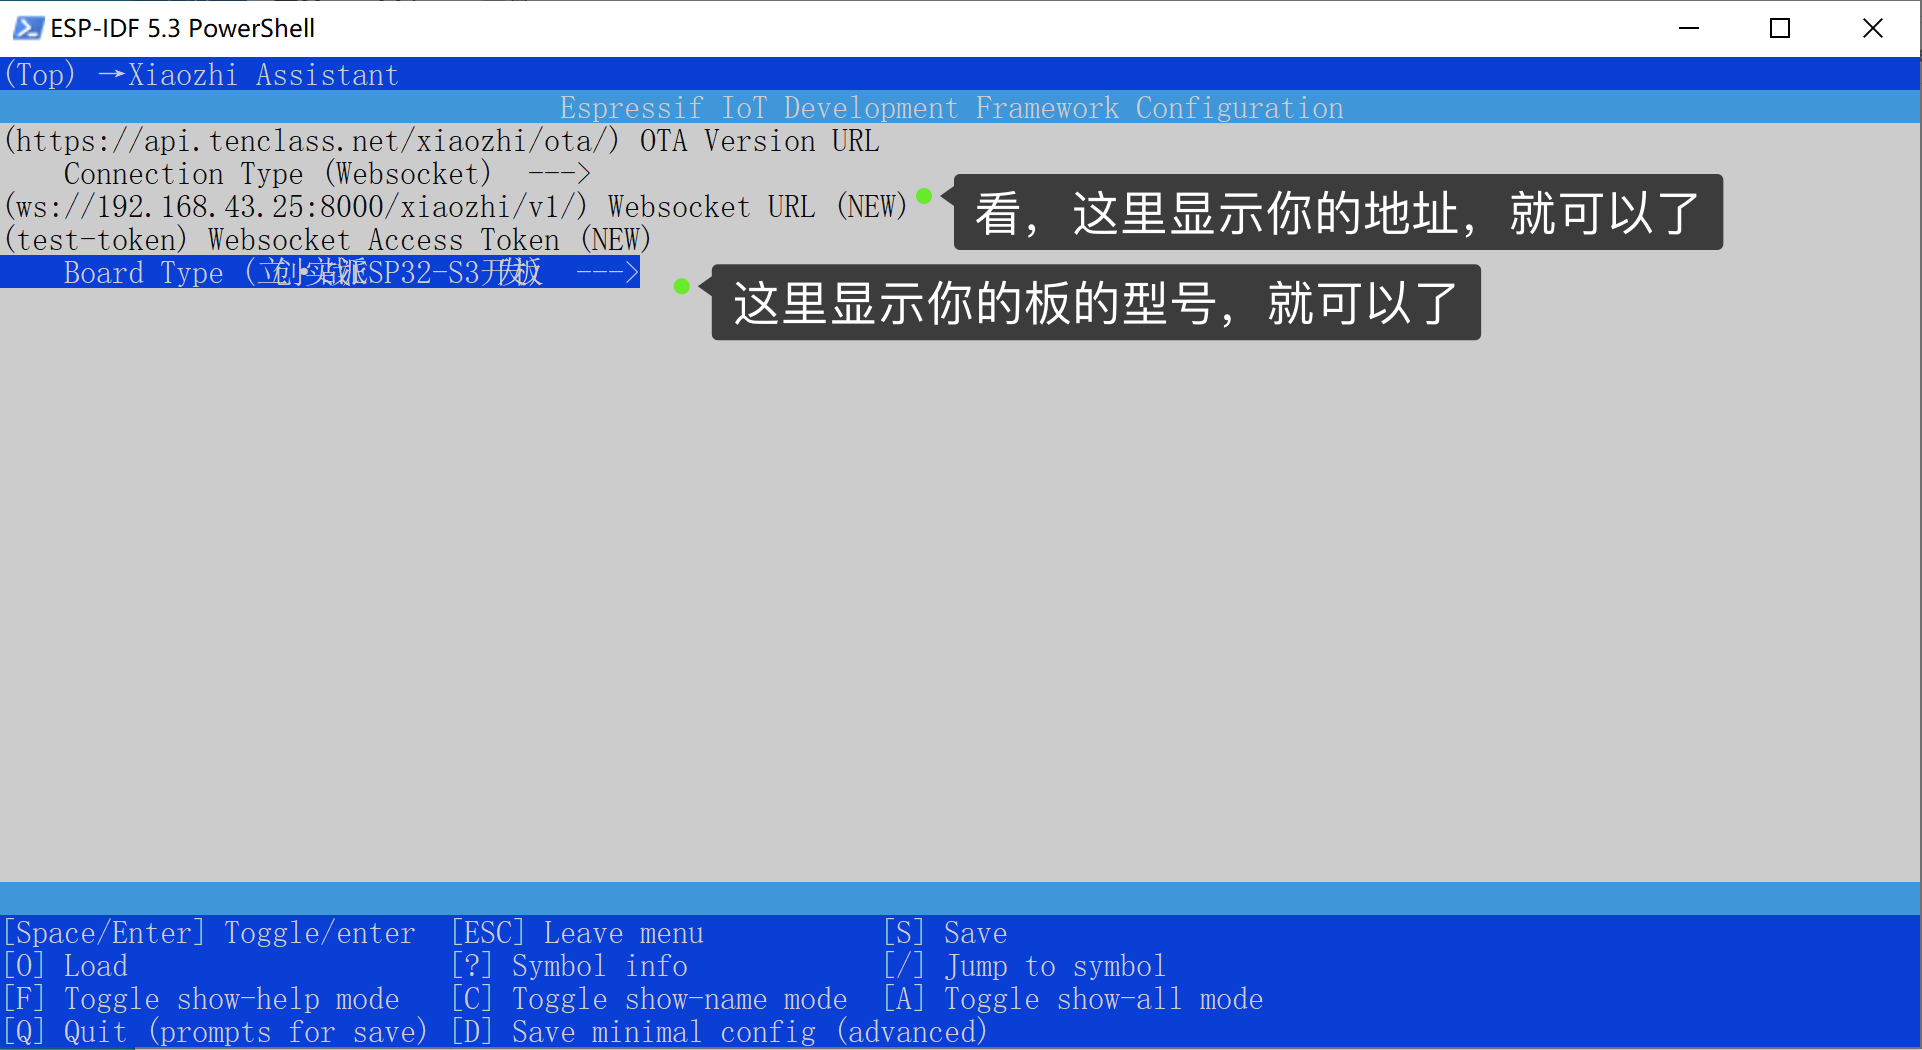
Go back to the main menu, then enter `xiaozhi assistant`, set the `BOARD_TYPE` of your board
Save exit and return to the terminal command line.
4. Build and package:
```
idf.py build
cd scripts
python release.py
```
After the compilation is successful, the firmware file `merged-binary.bin` is generated in the` build` directory in the
project root directory.
This `merged-binary.bin` is the firmware file that will be recorded on the hardware.
6. Flash
Connect the ESP32 device to the computer, use the Chrome browser, and open the following URL
```
https://espressif.github.io/esp-launchpad/
```
Open this
tutorial, [Flash Tools/Web -side Burning Folding Step (No IDF Development Environment)](https://ccnphfhqs21z.feishu.cn/wiki/Zpz4wXBtdimBrLk25WdcXzxcnNS).
Turn to: `Method 2: ESP-LAUNCHPAD browser web-end burning`, start from
`3. Burning firmware/download to the development board`, follow the tutorial operation.
# FAQ
## 1、TTS often fails, often overtime
Suggestion: If the `Edgetts` is slow or often fails, you can replace it with a bean bag TTS` with a volcanic engine. If
both are slow, the network environment may need to be optimized.
## 2、Big model reply is a bit slow
Suggestions: Both big models and TTS are dependent interfaces. If the network environment is not good, you can consider
changing the local model. Or try to switch different interface models.
## 3、Why is my ChatGLMLLM replying to a bit? Obviously it is Xiaozhi, but treats me as Xiaozhi.
Suggestion: You can modify the prompts in the configuration file first. You can also replace the free `GLM-4-FLASH` to
the model of other toll versions of `ChatGlm`.
## 4、I want to control the operation of electric lights, air conditioners, remote switching and other operations through Xiaozhi.
Suggestion: In the configuration file, set the `LLM` to`DifyLLM`, and then arrange the smart application by the
`Dify`.
## 5、I said very slowly, I paused, Xiaozhi always grabbed me, what to do.
Suggestion: In the configuration file, find this section, change the `min_silence_duration_ms` value, such as change to
` 1000`.
```
VAD:
SileroVAD:
threshold: 0.5
model_dir: models/snakers4_silero-vad
min_silence_duration_ms: 700 # 如果说话停顿比较长,可以把这个值设置大一些
```
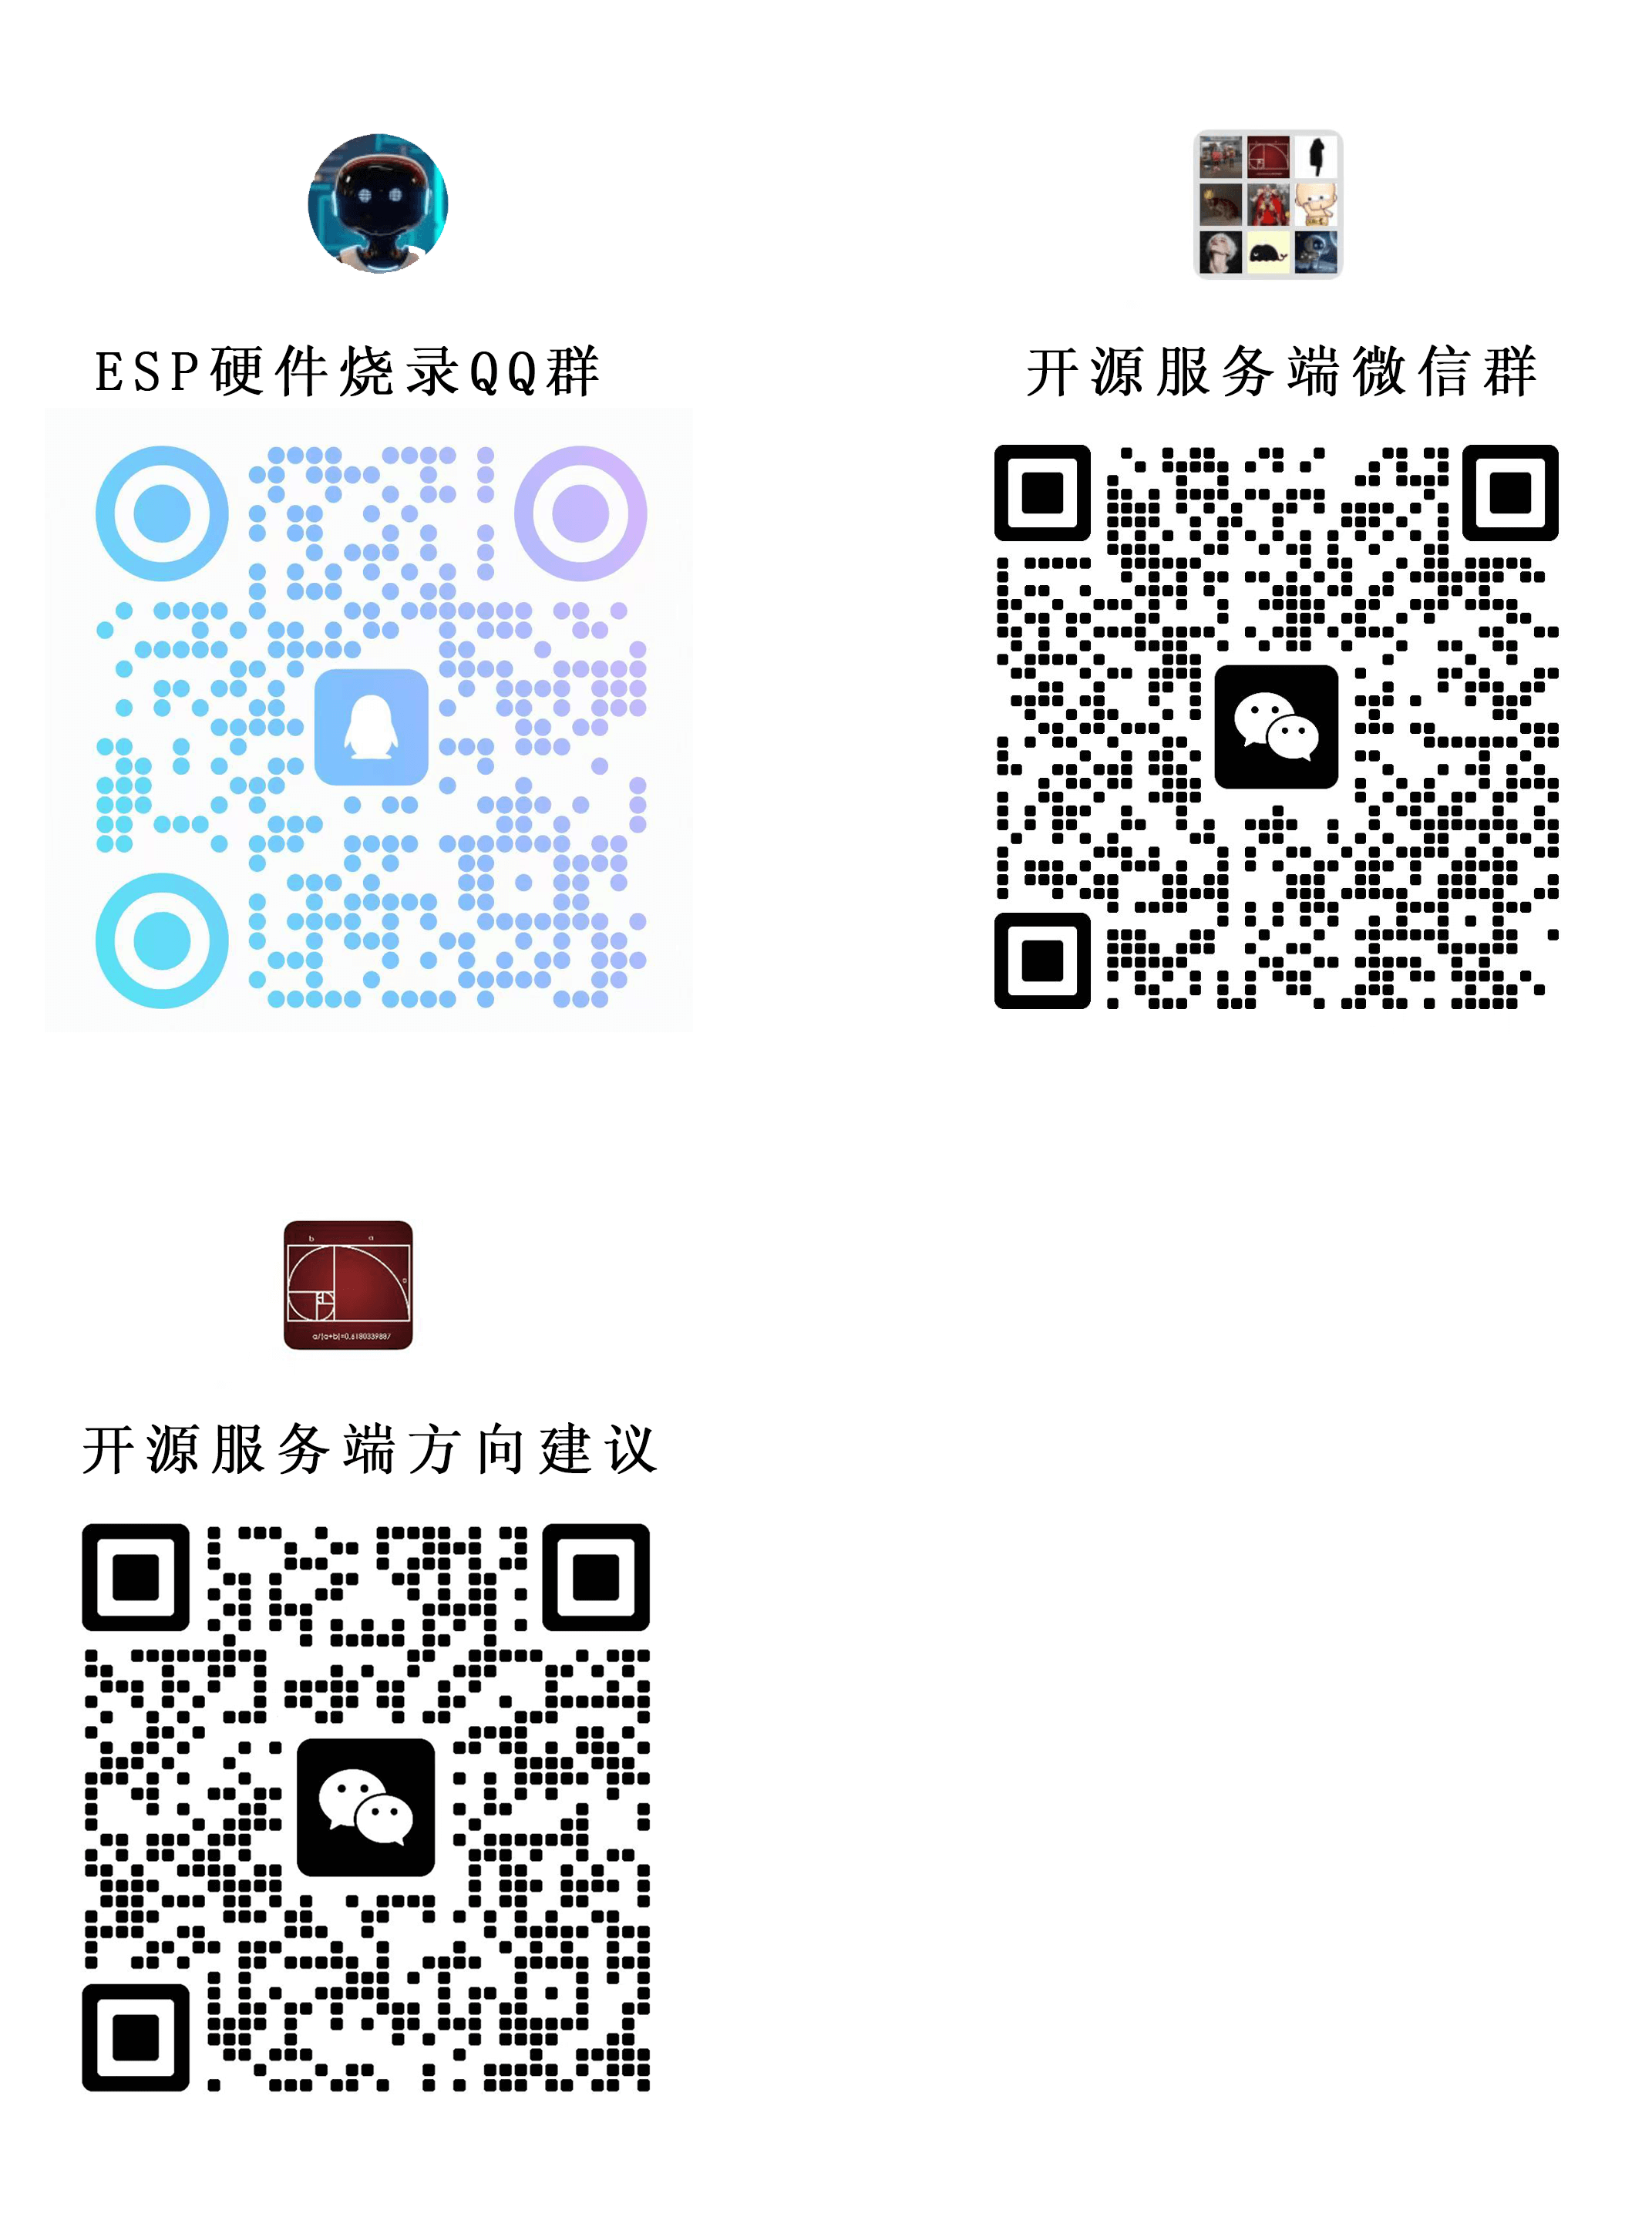
## 6、For more questions, contact us to feedback
# Acknowledgments
- This project is inspired by the [Bailin Voice Dialogue Robot](https://github.com/wwbin2017/bailing) project, and the
basic idea of the project is completed。
- Thanks to [Tencent Cloud] (https://cloud.tencent.com/) for providing free docker space for this project。
- Thanks to [tenclass](https://www.tenclass.com/)Provide adequate documentation support on Xiaozhi Communication
Protocol。